How to Clean Blackout Roller Shades Without Damaging Them
Learn how to clean blackout roller shades safely with simple tools, gentle techniques, and South Florida-specific care for dust, humidity, and strong sunlight.
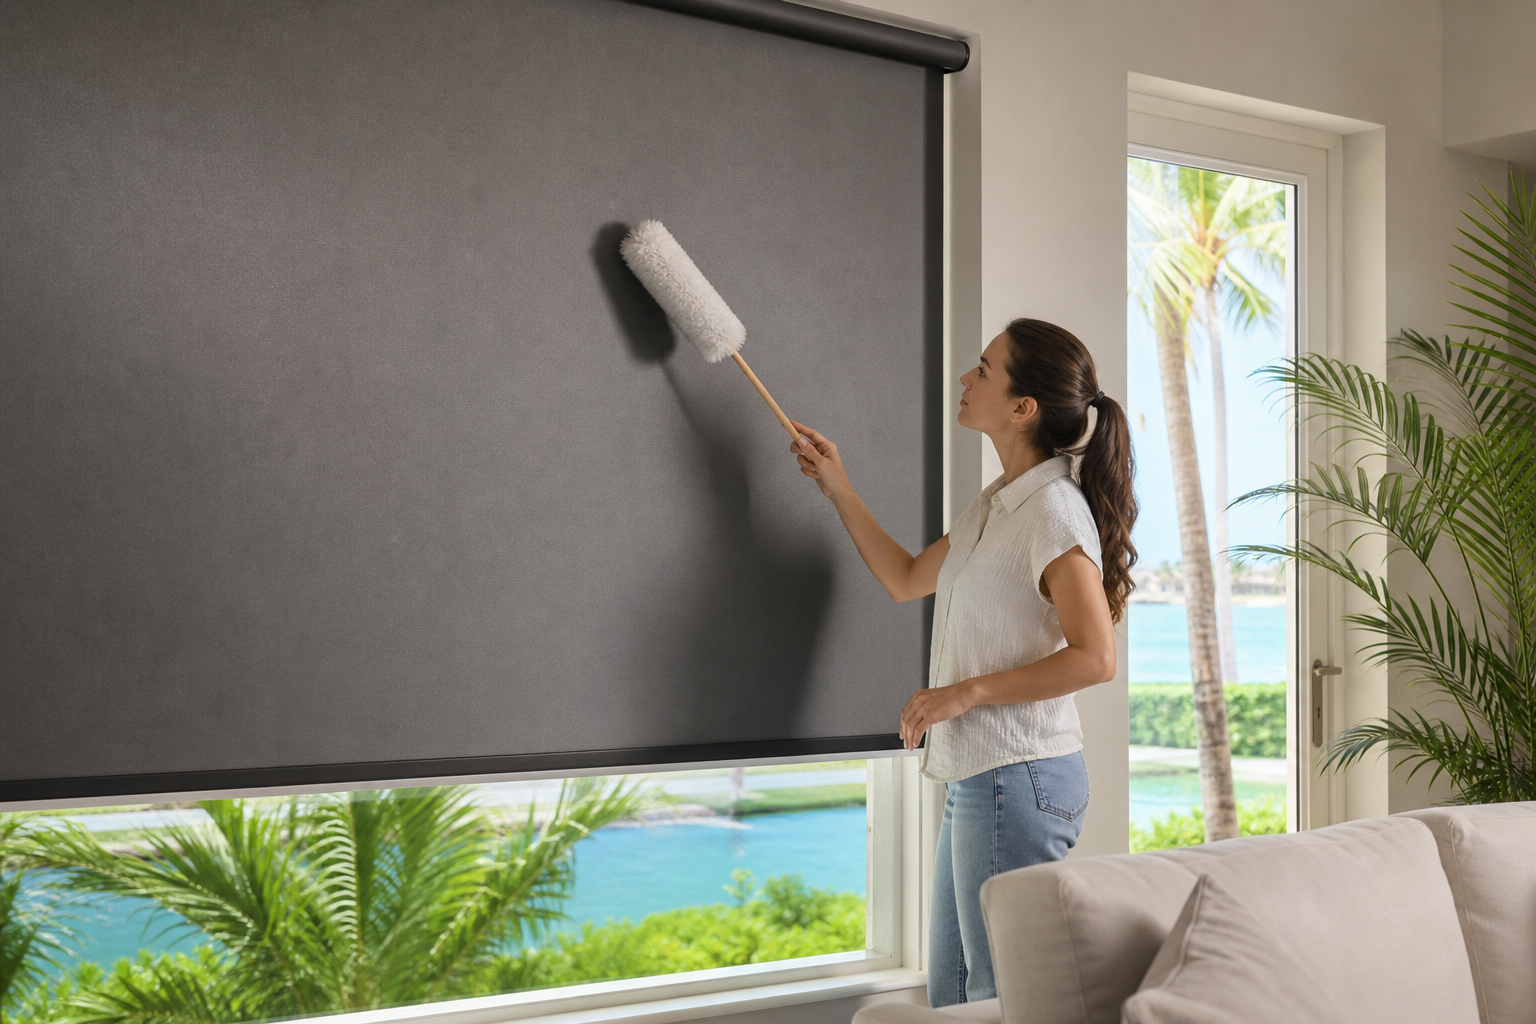
Blackout roller shades help bedrooms, media rooms, nurseries, and home offices stay darker and more comfortable. Like any window treatment, they can collect dust, fingerprints, cooking residue, and airborne particles over time. Learning how to clean blackout roller shades properly can help preserve their appearance without damaging the fabric, backing, roller mechanism, or light-blocking performance.
The safest approach is usually regular dust removal followed by careful spot cleaning when needed. Because blackout shades can be made with different fabrics, coatings, and operating systems, always check the manufacturer’s care instructions before using water or cleaning products. If you are unsure about the material, test any cleaning method in a hidden area first.
What You Need Before Cleaning Blackout Roller Shades
Gather a few basic supplies before you begin. Avoid using harsh household cleaners unless the shade manufacturer specifically recommends them.
- A clean, soft microfiber cloth or feather duster
- A vacuum cleaner with a soft brush attachment
- Clean, lukewarm water
- A small amount of mild soap, if permitted by the care instructions
- A clean towel for drying
- A small bowl for diluted cleaning solution
Do not use abrasive sponges, bleach, ammonia, strong solvents, steam cleaners, or stiff brushes on blackout roller shades. These products and tools may affect the finish, fabric color, backing, or light-blocking layer.
How to Clean Blackout Roller Shades Step by Step
1. Read the care instructions
Before cleaning, identify whether the shade is fabric, coated fabric, vinyl, or another material. Care instructions may also vary between manually operated and motorized shades. Some blackout materials tolerate light spot cleaning, while others should only be dusted.
If the original instructions are unavailable, use the least aggressive method first: gentle dusting with a dry microfiber cloth or soft brush attachment. Avoid saturating the shade until you know that moisture is appropriate.
2. Lower the shade completely
Lower the roller shade so the full surface is accessible and supported by the roller. If the shade is motorized, use the normal control to lower it and keep water away from the motor, controls, wiring, and charging components. Do not remove the shade from its brackets unless the manufacturer’s instructions specifically explain how to do so.
3. Remove loose dust from the front and back
Start at the top and work downward. Use a soft microfiber cloth, feather duster, or vacuum brush attachment on a low setting. Move gently in the direction of the shade rather than pressing hard against it.
Clean both the room-facing side and the window-facing side when accessible. The back of a shade may collect dust near the glass, frame, and sill, especially in rooms with open windows or frequent outdoor air circulation. Do not pull, crease, or rub the material while dusting.
4. Prepare a mild cleaning solution only if allowed
If the care instructions permit damp cleaning, mix clean lukewarm water with a very small amount of mild soap. The solution should be weak rather than heavily concentrated. Apply it to a cloth, not directly to the shade.
Before treating the visible surface, test the solution on a small, hidden section. Check for color transfer, streaking, changes in texture, or damage to the backing. Allow the test area to dry before continuing.
5. Blot stains gently
Use a barely damp, clean cloth to blot a spot. Do not scrub back and forth, twist the shade, or press aggressively. Work from the outside of the mark toward the center to avoid spreading it.
For a larger area, clean a small section at a time and use as little moisture as possible. Excess water can leave marks, affect some blackout backings, or reach the roller and mounting hardware.
6. Remove soap residue
If soap was used and the care instructions permit rinsing, use a second cloth lightly dampened with clean water. Blot carefully to remove residue. Avoid repeatedly wetting the same area.
7. Let the shade dry completely
Leave the shade fully lowered while it dries unless the manufacturer recommends another position. Maintain normal airflow in the room, but avoid directing intense heat at the shade. Do not roll the shade up while it is damp because moisture may become trapped around the roll.
Once the shade is fully dry, raise and lower it slowly to confirm that it operates normally. If it feels stiff, uneven, or noisy after cleaning, stop using it and inspect the shade and hardware rather than forcing the mechanism.
How Often Should You Clean Blackout Roller Shades?
Light dusting every few weeks can help prevent buildup. A more thorough cleaning may be appropriate when you notice visible marks, odors, or dust along the edges. The ideal schedule depends on the room and the home.
Bedrooms and nurseries may need regular dusting because the shades are used frequently.
Kitchens may collect more airborne residue, although cleaning products should still be chosen according to the shade’s care instructions.
Homes near the coast or in areas with open windows may experience more dust and salt-laden air on nearby surfaces.
Rooms with large windows may require more frequent attention because the shades cover a larger area.
Motorized shades should be checked around the headrail, controls, and wiring without applying liquid to electrical components.
South Florida’s strong sunlight can make marks and dust more noticeable on some materials. Humid conditions can also make it important to dry shades thoroughly after any damp cleaning. If the shade is exposed to outdoor air in Miami, Miami Beach, Key Biscayne, or other nearby communities, regular gentle dusting is often a sensible first step.
How to Remove Common Marks Safely
Dust and loose particles
Use a soft brush attachment or microfiber cloth. Keep the vacuum at a low setting and avoid pressing the nozzle directly against the fabric or backing.
Fingerprints
Try a clean, barely damp microfiber cloth if the manufacturer permits damp cleaning. Blot rather than scrub, then allow the area to dry fully.
Food or drink spots
Remove the substance promptly with a dry cloth if possible. If a mark remains, use a small amount of an approved mild cleaning solution on a cloth. Do not soak the spot or spread it across the shade.
Water marks
Water marks can be difficult to correct because adding more water may enlarge the affected area. Follow the product instructions and test a hidden area first. If the mark remains, professional advice may be safer than repeated home treatment.
Persistent odors or suspected mildew
Do not apply bleach or strong chemicals unless the manufacturer expressly approves them. Persistent odors or suspected mildew may indicate a moisture problem near the window or within the room. Improve ventilation, check for leaks or condensation, and ask the shade provider about appropriate cleaning or replacement options.
What Not to Do When Cleaning Blackout Roller Shades
- Do not put blackout roller shades in a washing machine or dryer.
- Do not soak the shade in a bathtub or spray it with a hose.
- Do not use bleach, abrasive cleaners, alcohol-based products, or solvents without written care guidance.
- Do not steam clean the shade unless the manufacturer approves that method.
- Do not scrub the blackout backing, which may be more sensitive than the front surface.
- Do not roll the shade while it is damp.
- Do not spray liquid near motorized controls, wiring, sensors, or the headrail.
- Do not force a shade that becomes difficult to operate after cleaning.
Cleaning Blackout Shades in Large Windows
Large blackout shades require extra care because the wider surface can be harder to support and clean evenly. Work in manageable sections, keep the shade aligned, and avoid pulling down on the bottom rail while wiping.
For tall windows, use an appropriate step stool rather than leaning or stretching. If a shade is difficult to reach, unusually wide, motorized, or showing signs of material damage, contact the installer or manufacturer before attempting a more involved cleaning process. You can also learn more about selecting blackout shades for large windows in our guide to custom blackout shades for large windows.
When Should You Consider Professional Help?
Home cleaning is generally best for routine dust and small, surface-level marks. Professional guidance may be worthwhile when the shade has extensive staining, a delicate or unfamiliar material, persistent odor, water damage, or a malfunctioning roller mechanism.
It may also be time to discuss replacement when the blackout backing is peeling, the shade no longer rolls evenly, the fabric has permanent discoloration, or the treatment no longer provides the light control you need. Cleaning cannot correct every form of material or hardware wear.
Blackout Shade Cleaning FAQs
Can I use a vacuum cleaner on blackout roller shades?
Yes, a vacuum with a soft brush attachment can be suitable for removing loose dust when used gently and at a low setting. Avoid pressing the nozzle against the shade or catching the fabric in the vacuum.
Can I wash blackout roller shades with water?
It depends on the material and manufacturer’s instructions. Some shades allow careful spot cleaning with a barely damp cloth, while others should only be dusted. Never saturate the shade unless the care instructions specifically permit it.
Can I use household glass cleaner on blackout shades?
It is best to avoid glass cleaner unless the manufacturer specifically approves it. Products intended for glass may contain ingredients that affect the shade’s fabric, coating, color, or backing.
How do I clean motorized blackout roller shades?
Dust the shade gently and keep all moisture away from motors, controls, wiring, sensors, and charging components. Follow the operating and care instructions for the specific system, and do not force the shade if its movement changes.
Why does my blackout shade still let in light after cleaning?
Cleaning will not change the fit or installation of a shade. Light may enter around the sides, top, or bottom depending on the window and shade design. If the shade itself has damaged backing or no longer sits correctly, ask a window-treatment professional to evaluate it.
Keep Your Blackout Roller Shades Looking Their Best
The safest routine is simple: dust gently, use minimal moisture, test first, avoid harsh chemicals, and let the shade dry completely before rolling it up. This approach is especially useful for South Florida homes where intense sunlight, humidity, coastal air, and frequent indoor-outdoor living can increase the amount of maintenance window treatments need.
If you are choosing new blackout shades or replacing treatments that are difficult to clean, Floridian Blinds can help you review options for bedrooms, nurseries, media rooms, large windows, and other spaces. Compare blackout shades and room-darkening shades to understand which level of light control may fit your space, then contact Floridian Blinds for a free consultation and measurement.